


Maintaining Tesla's distinctive chrome trim requires careful repair techniques due to debris damage and wear over time. Gather necessary tools, protect your workspace and vehicle, and understand the meticulous process involving inspection, sandpaper, filler, primer, shaping, degreasing, matching paint, and prevention for longevity and resale value.
“Looking to restore your Tesla’s sleek look? Tesla chrome trim repair is a popular topic among car enthusiasts. This comprehensive guide delves into the world of Tesla chrome trim, its various types, and common damage. We equip you with the knowledge to identify issues early.
From preparation and required tools to step-by-step repair procedures, this article ensures you tackle the job effectively. Learn expert techniques to prevent future damage and maintain your Tesla’s striking chrome accents.”
- Understanding Tesla Chrome Trim: Types and Common Damage
- Preparation and Tools Required for Repair
- Step-by-Step Guide to Effective Chrome Trim Repair and Prevention Techniques
Understanding Tesla Chrome Trim: Types and Common Damage

Tesla Chrome Trim: An Overview
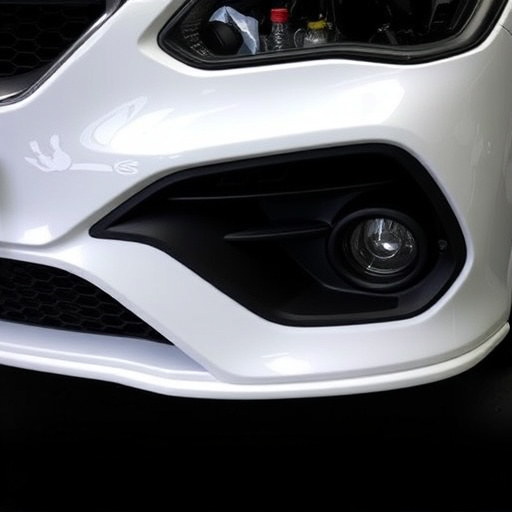
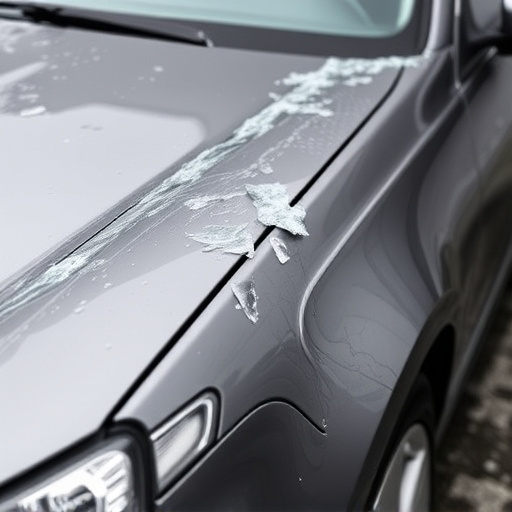
Tesla vehicles are renowned for their sleek and modern design elements, and a significant part of this aesthetic lies in their chrome trim. Chrome trim, found on various parts such as door handles, window frames, and grilles, adds a touch of luxury and precision to the overall vehicle appearance. However, like any exterior car paint repair or vehicle bodywork component, it is susceptible to damage. Common issues include scratches, dents, and pitting from road debris, stone chips, or accidental bumps. Over time, the chrome can also lose its shine and become tarnished, giving the trim an outdated look. Proper Tesla chrome trim repair techniques are essential to restore not only the vehicle’s visual appeal but also its value.
Understanding different types of chrome trim is crucial for effective repair. Tesla uses various finishes, from polished stainless steel to electroplated chrome, each requiring specific care and restoration methods. Proper removal procedures are equally vital to ensure that the underlying surface is clean and free from debris before applying any repair or coating. This meticulous process involves carefully detaching the trim pieces, using specialized tools to prevent damage, and following manufacturer guidelines for a successful Tesla chrome trim repair.
Preparation and Tools Required for Repair

Before attempting any Tesla chrome trim repair, ensure you have all the necessary tools and materials to achieve a professional outcome. This includes a variety of specialized equipment designed for precise removal and installation, such as high-quality tweezers, plastic safing knives, and a set of fine-grit sandpaper. Additionally, gathering the correct adhesives and sealants specific to chrome trim restoration is vital; these products will ensure long-lasting durability and a seamless finish.
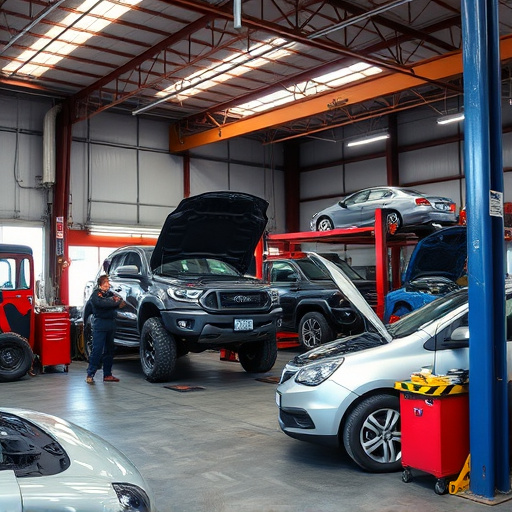
A clean workspace in a well-ventilated area is essential for successful Tesla chrome trim repair. Protecting surrounding surfaces with drop cloths or tapes is a must, as is wearing protective gear like gloves and safety glasses. Familiarize yourself with the car bodywork services involved, understanding the steps required to safely remove damaged or deteriorated chrome trim without causing further harm to the vehicle’s surface or underlying components. Relying on the expertise of a reputable car body shop can be invaluable, especially for complex repairs.
Step-by-Step Guide to Effective Chrome Trim Repair and Prevention Techniques

Tesla chrome trim repair is a specialized task that requires precision and attention to detail. To begin, inspect the damaged area thoroughly, identifying the extent of pitting or corrosion. This initial step is crucial for effective repair and prevents further deterioration. Next, prepare the surface by using fine-grit sandpaper to gently buff away any rough spots, ensuring a smooth base for the restoration process.
For repairs, a combination of automotive-grade filler and primer is ideal. Apply a thin layer of filler over the damaged area, allowing it to dry completely. Once hardened, shape and sand the filler until it matches the surrounding chrome trim. After sanding, clean the surface thoroughly with a degreaser to remove any oils or residue. Finally, apply a high-quality auto body paint that matches your Tesla’s original finish, using a spray gun for even coverage. This meticulous process, when combined with proper prevention techniques like regular washing and waxing, can significantly extend the life of your vehicle’s chrome trim, keeping it looking vibrant and new.
In conclusion, Tesla chrome trim repair is a valuable skill to ensure your vehicle’s aesthetic appeal and protection against future damage. By understanding different types of chrome trim and common issues, preparing the necessary tools, and following step-by-step procedures, you can effectively restore and maintain your Tesla’s exterior. Adhering to these practices not only enhances the car’s visual appeal but also prevents more costly repairs down the line.