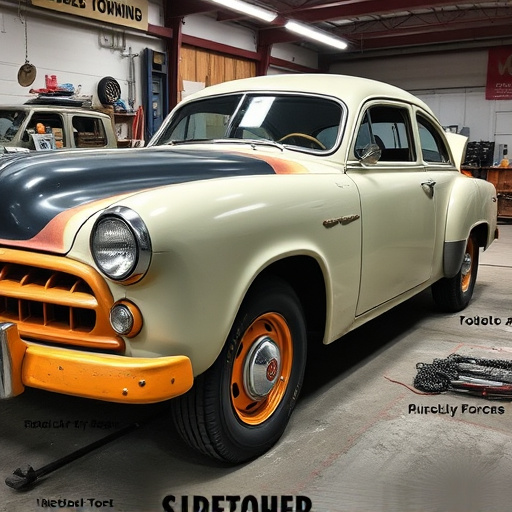


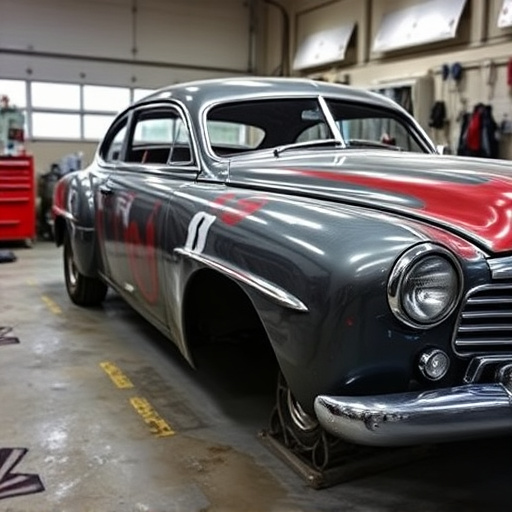
Tesla chrome trim, though aesthetically pleasing, is prone to weather and wear damage. Repair involves specialized techniques and materials to restore original luster. Gather a kit with sandpaper, metal polish, microfiber cloth, and isopropyl alcohol. Clean, sand, and polish the trim, using heavier tools for severe scratches or detachment. Regular maintenance preserves the chrome's longevity and vehicle value.
“Keep your Tesla’s sleek aesthetic with a guide to Tesla chrome trim repair. Over time, the once vibrant chrome finish can fade or deteriorate, impacting your vehicle’s overall look. This comprehensive article delves into the process of restoring your Tesla’s chrome trim, addressing common issues and offering practical solutions. Learn about the essential tools and materials required, then follow our step-by-step guide to achieve a like-new shine. Revitalize your Tesla’s charm with effective Tesla chrome trim repair techniques.”
- Understanding Tesla Chrome Trim Deterioration
- Tools and Materials for Repair
- Step-by-Step Guide to Restoring Chrome Finish
Understanding Tesla Chrome Trim Deterioration
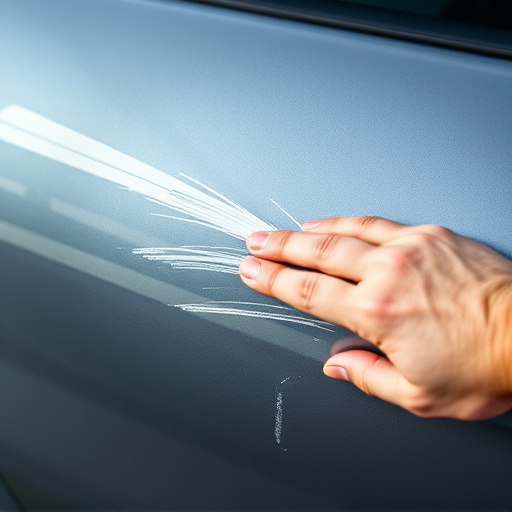
The chrome trim on Tesla vehicles is a distinctive feature that adds to their sleek and modern aesthetic. However, over time, this finish can deteriorate due to various factors such as exposure to harsh weather conditions, UV rays, and everyday wear and tear. As a result, the once-shiny chrome may start to show signs of aging, fading, or even pitting. This deterioration not only affects the vehicle’s appearance but also its overall value.
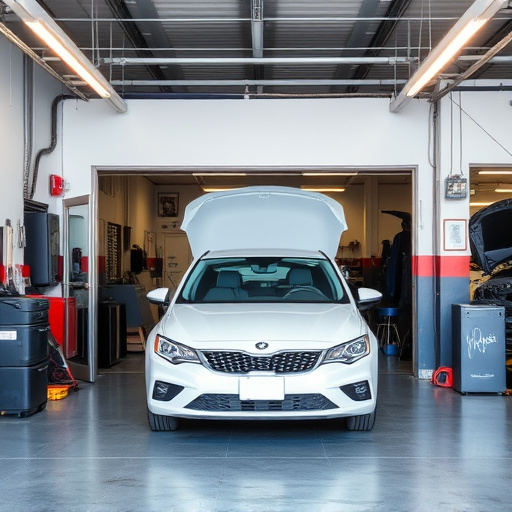
Tesla chrome trim repair is a crucial process for owners looking to restore their car’s original luster. It involves addressing specific damage and ensuring the long-term preservation of the chrome. Unlike general car dent repair or collision repair services, Tesla chrome trim restoration requires specialized techniques and knowledge due to the intricate nature of the material and its precision fit within the vehicle’s design. A reputable collision repair shop with experience in Tesla repairs can provide this service, ensuring that the trim is not only visually appealing but also functions as intended for years to come.
Tools and Materials for Repair
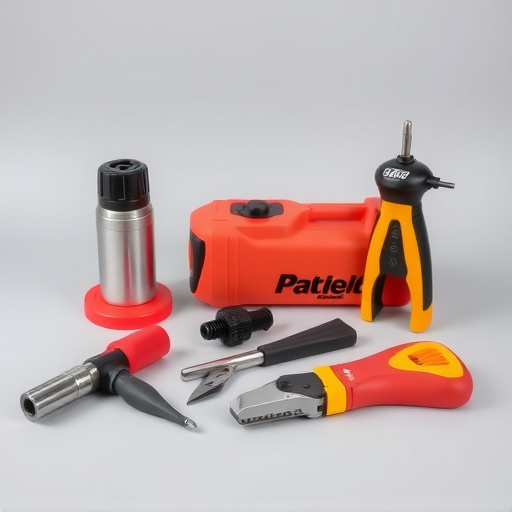
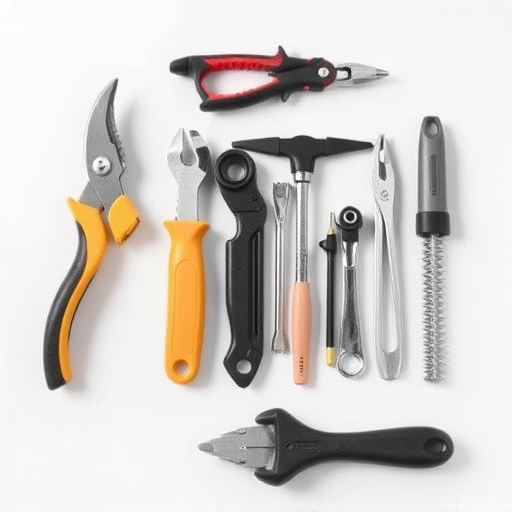
For a successful Tesla chrome trim repair, gathering the right tools and materials is essential. This includes a fine-grit sandpaper set for smoothing out any rough spots or fading on the chrome surface, as well as a metal polish designed specifically for chrome to restore its shine. You’ll also need a microfiber cloth for application and removal of polish, along with isopropyl alcohol for cleaning the trim prior to repair. For more intricate damage, such as dents or scratches, consider adding a car dent repair kit that includes a putty knife and a filler compound suitable for automotive use. If the chrome trim has become severely damaged or detached, body shop services may be required, where professionals can expertly handle complex repairs.
Step-by-Step Guide to Restoring Chrome Finish
Restoring a Tesla’s chrome trim doesn’t have to be a daunting task. With the right tools and techniques, you can revive its faded or damaged finish. Here’s a step-by-step guide tailored for Tesla owners looking to tackle this project themselves:
1. Preparation: Begin by gathering all necessary materials, including a chrome restorer or polish, cutting disc (for heavy scratches), fine-grit sandpaper, isopropyl alcohol, and a microfiber cloth. Ensure your work area is well-ventilated. Remove any loose debris from the chrome trim using the alcohol and cloth to create a clean surface for repairing.
2. Cleaning: Thoroughly clean the chrome trim with a dedicated car shampoo or a mild detergent solution. Rinse it with water and dry completely, ensuring no moisture remains. This step is crucial as it prepares the surface for restoration, eliminating any grease or grime that could interfere with adhesion.
3. Scratch Repair (if applicable): For noticeable scratches, use fine-grit sandpaper to gently buff the affected area until the scratch disappears. Proceed carefully to avoid deepening the dent. After sanding, clean the area again to remove dust particles. Apply a small amount of chrome restorer or polish using a soft cloth and work it into the trim, following the product’s instructions for best results.
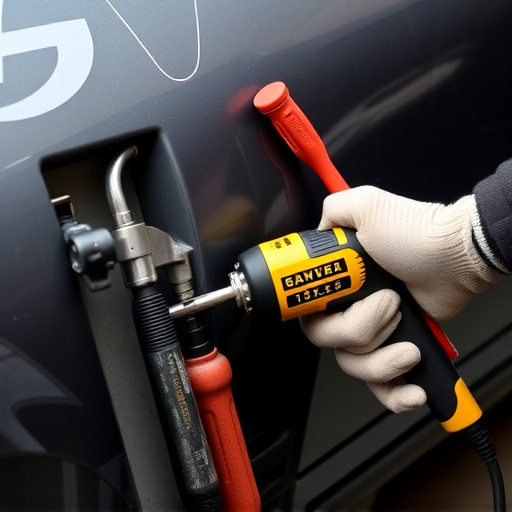
4. Polishing: Using a polishing pad or machine polisher (if available), apply the chrome polish in circular motions. This step will enhance the finish, filling in any minor imperfections and adding a protective layer. Follow the product directions for application time and pressure.
5. Final Touches: Once polished, inspect the trim closely to ensure even coverage. Wipe down with a clean microfiber cloth to reveal a sparkling, restored chrome finish.
Restoring your Tesla’s chrome trim is an accessible and effective way to rejuvenate its aesthetic appeal. By understanding the common deterioration issues and using the right tools and materials, you can easily achieve a like-new finish. Following our step-by-step guide ensures a successful restoration process, allowing you to maintain or enhance your Tesla’s sleek and modern look through simple DIY methods. Remember, a fresh chrome trim not only adds visual appeal but also contributes to the overall value of your vehicle. Get started on your Tesla chrome trim repair today!